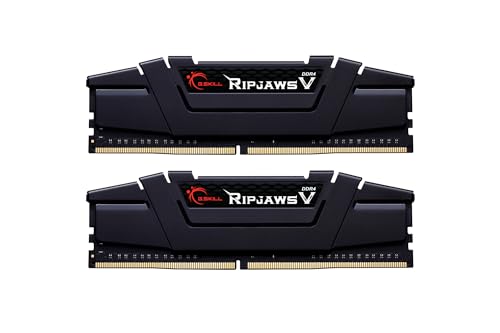
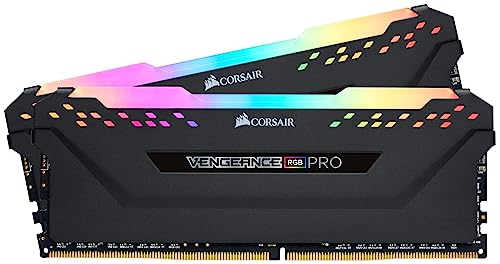
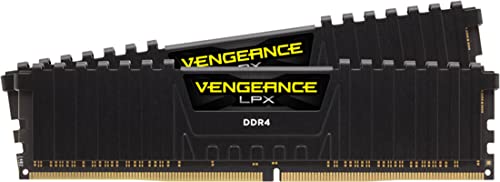
Optimizing memory timings is key to bolstering system performance in high‑performance setups. Fine‑tuning DDR settings involves adjusting parameters such as CAS latency, RAS-to-CAS delay, and tRP to achieve quicker data access and lower overall latency. This process can enhance gaming performance, multitasking, and creative workflows.
Start with the default JEDEC timings provided by the manufacturer and incrementally tighten the values in the BIOS. Use memory diagnostic and benchmarking tools to verify stability and measure performance improvements. Balancing aggressive timing settings with sufficient voltage and cooling is essential to prevent errors.
After each adjustment, perform prolonged stress tests to ensure that your system maintains stability. Document all changes and revert any settings that lead to instability. Fine‑tuning is an iterative process that culminates in an optimized balance between speed and reliability.
Fine‑tuning memory timings offers a tangible boost in system performance for demanding tasks. With careful adjustments, robust testing, and an emphasis on stability, you can optimize your DDR memory for maximum efficiency without compromising system integrity.
Ultimate Guide to Memory Timings Optimization: DDR Overclocking & BIOS Tuning
Introduction
Optimizing memory timings is the cornerstone of unlocking peak performance in modern PCs. By fine-tuning DDR settings—such as CAS latency (CL), RAS-to-CAS delay (tRCD), and precharge time (tRP)—you can slash effective latency, boost bandwidth, and elevate your gaming, multitasking, or creative workloads. This comprehensive guide teaches you everything from primary and secondary timings to advanced BIOS memory tuning and stability testing for a rock-solid overclock.
Fundamentals of Memory Timings
Primary Timings Explained
- CAS Latency (CL): Number of clock cycles between read command and data availability.
- RAS-to-CAS Delay (tRCD): Delay between row activation and column access.
- Row Precharge Time (tRP): Time to close one row before opening another.
- Row Active Time (tRAS): Minimum time a row must stay open for valid operations.
Secondary & Tertiary Timings
Beyond the four primary values, BIOS menus feature dozens of secondary and tertiary parameters—tRFC, tFAW, tWR, tRRD, tCCD—and “gear” controls in DDR5. While tightening these can yield extra MHz or sub-nanosecond latency gains, they demand deeper platform knowledge, extra voltage, and meticulous stability testing.
Preparation: Tools, Terminology, and Safety
Essential Tools & Software
- CPU-Z & Thaiphoon Burner: Read SPD tables and current timings.
- AIDA64 & SiSoftware Sandra: Benchmark bandwidth and latency.
- MemTest86 & Windows Memory Diagnostic: Run memory stress tests.
- BIOS Screenshots or Manual: Identify memory tuning section (e.g., “Ai Tweaker,” “Extreme Tweaker”).
Key Terminology
Understanding terms like JEDEC (default safe timings), XMP/DOCP profiles (pre-baked overclocks), and VDIMM (memory voltage) is crucial. JEDEC timings guarantee stability across all motherboards, whereas XMP/DOCP often pushes modules to factory-tested overclock speeds.
Safety Precautions
- Incremental Voltage Steps: Increase VDIMM by no more than +0.05 V at a time.
- Temperature Monitoring: Keep DRAM under 85 °C with airflow or heatsinks.
- Backup Profiles: Save stock BIOS profiles before making changes.
Step-by-Step BIOS Memory Tuning
1. Load XMP/DOCP Profile
Start by enabling your RAM manufacturer’s XMP (Intel) or DOCP (AMD) profile. This gives you a baseline overclock—often DDR4-3600 CL18 or DDR5-6000 CL36—saving time on manual value entry.
2. Tighten Primary Timings
- Enter BIOS → Navigate to Memory Configuration.
- Reduce CAS Latency one step (e.g., from CL18 to CL17).
- Tighten tRCD and tRP similarly—record each change.
- Save & reboot, then run a quick memory stress test (MemTest86 for 10 minutes).
3. Adjust Voltage & Frequency
If your system fails to post or crashes under brief MemTest86, slightly bump VDIMM (e.g., +0.05 V) or drop frequency by one notch (DDR4-3600 → DDR4-3466). Always respect your motherboard’s DRAM voltage limits (usually ≤1.45 V DDR4, ≤1.45 V DDR5).
4. Fine-Tune Secondary Timings
Once the primary timing window is stable, experiment with secondary values such as tRFC (refresh cycle time) and tFAW (four-activate window). Lowering tRFC from 350 ns to 300 ns can cut overall latency—but requires more voltage and testing.
Benchmarking & Stability Testing
Benchmark Workflow
- Run AIDA64 Memory Benchmark: Record read/write/copy bandwidth and latency.
- Compare scores to stock settings. A 5–10% bandwidth gain or 2 ns latency drop is a successful tweak.
Stress-Testing Guidelines
- MemTest86: Minimum 4 passes for each new setting (≈6–8 hours).
- Prime95 Blend Test: Exercises CPU + memory for real-world stability checks.
- Real-World Validation: Run gaming benchmarks or large file compressions (7-Zip).
Troubleshooting Common Errors
- System Won’t POST: Revert to last known stable profile or increase voltage by +0.05 V.
- Random BSODs: Slightly loosen one timing at a time (e.g., tRCD +1) and retest.
- Data Corruption: Ensure adequate cooling and consider raising VCCIO and VCCSA (Intel platforms) by small increments.
Advanced Tuning Strategies
Platform-Specific Tweaks
AMD Ryzen users should explore Infinity Fabric clock (FCLK) syncing with memory clock (MCLK) at 1:1 for minimal system latency. Intel XMP kits on Z-series motherboards can often stretch beyond rated speed by relaxing command rate (CR) to 2T.
Sub-Timing Tweaks
Veteran enthusiasts often tweak tertiary timings—tRRD_S, tWR, tRC, tRTP—to squeak out extra performance. Public forums like Overclock.net and BIOS modding communities can provide safe starting points, but always verify stability yourself.
Thermal & Power Considerations
- Install high-performance RAM heatsinks or active VRM cooling.
- Monitor DRAM temperature with software (HWInfo, DRAM-Calc).
- Ensure power supply phases can handle added DRAM voltage without droop.
Real-World Performance & Benchmark Comparisons
Tighter memory timings often translate into lower 1% lows in games like Cyberpunk 2077, faster compile times in IDEs, and quicker photo-editing batch exports. Below is a sample benchmark comparison of stock vs. manually tuned DDR4-3600 CL18→CL16.
| Metric | Stock (3600 CL18) | Optimized (3600 CL16) | Improvement |
|---|---|---|---|
| Read Bandwidth (GB/s) | 46.2 | 50.5 | +9.3% |
| Latency (ns) | 68.2 | 62.4 | -8.5% |
| 7-Zip LZMA (MIPS) | 15 300 | 16 500 | +7.8% |
| Cyberpunk 1% Low (FPS) | 35 | 38 | +8.6% |
Best Practices & Conclusion
- Always document every BIOS change for easy rollback and comparison.
- Prioritize stability over absolute frequency—real-world gains come from balanced tuning.
- Use robust cooling and maintain safe voltage limits to prolong component lifespan.
- Join enthusiast communities to share experiences and learn platform-specific tricks.
Fine-tuning memory timings remains one of the most cost-effective ways to extract extra performance from your system. By following this guide—covering primary, secondary, and platform-specific tweaks—you’ll minimize system latency, maximize bandwidth, and achieve a rock-solid overclock for gaming, productivity, and creative workflows without sacrificing reliability.

