Effective fan curve software customization is key to delivering optimal cooling while keeping noise levels in check. Balancing performance and acoustics enhances the user experience without sacrificing component longevity.
Utilize fan control software or BIOS settings to create custom fan curves that adjust speeds dynamically based on temperature. Evaluate system temperatures and adjust fan profiles for silent operation during idle and maximum cooling during high load. Consider using low noise, high‑efficiency fans to further refine the acoustic performance without compromising airflow.
By fine‑tuning fan curves with dedicated software, you can achieve an ideal balance between cooling and quiet operation. Continuous monitoring and periodic adjustments ensure that your system remains both cool and whisper‑quiet.
Ultimate Guide to Fan Curve Software: Dynamic Control for Quiet, Efficient PC Cooling
Effective fan curve customization is the cornerstone of achieving optimal cooling performance and whisper-quiet operation. By mastering dynamic fan control—whether through dedicated software or BIOS settings—you’ll extend component longevity, reduce thermal throttling, and enjoy a distraction-free environment. This guide dives deep into techniques, tools, hardware selection, and maintenance practices to refine your acoustic performance without sacrificing airflow.
1. Why Optimize Fan Curves?
Modern PCs generate substantial heat under load—from CPU overclocks to GPU ray tracing and NVMe SSD transfers. Stock fan profiles often run fans at high speeds or switch them off entirely, creating abrupt noise spikes or inadequate cooling. Custom fan curves deliver:
- Balanced Temperatures: Keep CPU, GPU, and VRM within safe operating ranges.
- Acoustic Comfort: Minimize noise at idle or light use while ramping up only when necessary.
- Extended Component Life: Prevent heat-induced degradation by avoiding sustained high temperatures.
- Energy Efficiency: Reduce power draw and fan wear by running fans at lower RPM when possible.
2. Fan Curve Basics: PWM vs. DC Control
Understanding how fans are controlled is essential:
- PWM (Pulse-Width Modulation): Fans receive a constant 12 V supply; speed is adjusted by on/off pulses. Offers precise control (
4 – 100 %duty cycle). - DC Voltage Control: Fans run on varying voltage (
5 – 12 V). Less precise than PWM but compatible with older motherboards.
Modern motherboards predominantly support 4-pin PWM headers, enabling smoother curves and quieter low-speed operation.
3. Fan Curve Software Options
Several applications allow granular control of fan RPM based on temperature sensors:
| Software | Platform | Features | License |
|---|---|---|---|
| SpeedFan | Windows | Custom curves, voltage monitoring, S.M.A.R.T. integration | Free |
| Argus Monitor | Windows | Per-fan curves, HDD/SSD health, email alerts | Paid / Trial |
| HWinfo + PWM Control | Windows / DOS | Sensor readouts + PWM adjustments via scripts | Free |
| Fancontrol (lm-sensors) | Linux | Text-based config, kernel support, cron-based profiles | Open Source |
| Corsair iCUE / MSI Dragon Center | Windows | RGB sync, integrated fan and pump curves, profiles | Free |
Choose software that integrates with your motherboard and fan controller. Many RGB suites include fan control—but for non-RGB rigs, dedicated utilities often offer more advanced curve editing.
4. BIOS Fan Settings: Pros and Cons
Most UEFI/BIOS interfaces feature native fan tuning utilities:
- Advantages: Runs before OS loads, works on bare-metal, no extra software.
- Disadvantages: Limited curve resolution (often 4–5 points), fewer sensor sources, no per-profile switching.
Recommended BIOS settings:
- Enable Smart Fan or Q-Fan control.
- Set Temperature Source (CPU, motherboard, VRM) for each header.
- Define minimum RPM to prevent fan stop “dead zones.”
- Use at least 5 curve points: idle, low load, medium load, high load, extreme load.
5. Dynamic Fan Control Strategies
To refine your curve further, consider:
5.1 Multi-Zone Temperature Monitoring
Assign different curves to CPU, GPU, chipset, and case fans based on local sensor readings. Example:
- CPU Fan: Curve triggers at 40 °C, 60 °C, 80 °C
- GPU Fan: Use GPU-dedicated software (MSI Afterburner) to match VRAM and core temps.
- Chassis Fans: Link to ambient/MB sensor for steady airflow.
5.2 Noise Floor vs. Peak Cooling
Define two profiles:
- Quiet Mode: Fans ≤ 40 % until temp > 60 °C. Ideal for web browsing & office work.
- Performance Mode: Steeper ramp above 50 °C—fans hit 100 % by 80 °C. For gaming, rendering.
5.3 Automated Profile Switching
Use scripts or software triggers to change curves automatically:
- Detect full-screen applications (games) to switch to Performance Mode.
- Activate Quiet Mode on battery power or at night via scheduled tasks.
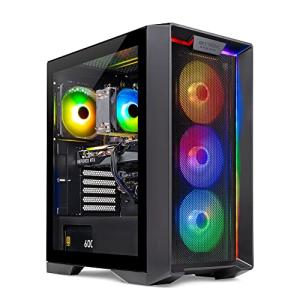
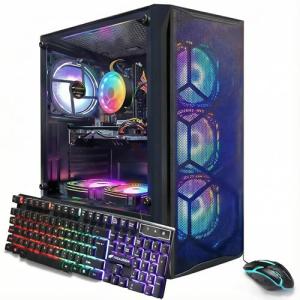
6. Choosing Low-Noise, High-Efficiency Fans
Not all fans are created equal—look for:
- Static Pressure: High pressure (>2 mmH₂O) for radiators and tight mesh panels.
- Airflow (CFM): Aim for 50 – 70 CFM per fan at mid-RPM for balanced cooling.
- Noise dB(A): Under 25 dB at 1 000 RPM for whisper-quiet operation.
- Bearings: Fluid dynamic or magnetic levitation for longevity and minimal noise.
| Model | Max RPM | CFM | Noise (dB) | Static Pressure |
|---|---|---|---|---|
| Noctua NF-A12x25 | 2 000 | 54.9 | 22.6 | 2.34 mmH₂O |
| be quiet! Silent Wings 3 | 1 600 | 36.4 | 16.4 | 0.79 mmH₂O |
| Corsair ML120 Pro | 2 400 | 75 | 37 | 4.2 mmH₂O |
| Arctic P12 PWM PST | 2 000 | 56.3 | 22.5 | 2.2 mmH₂O |
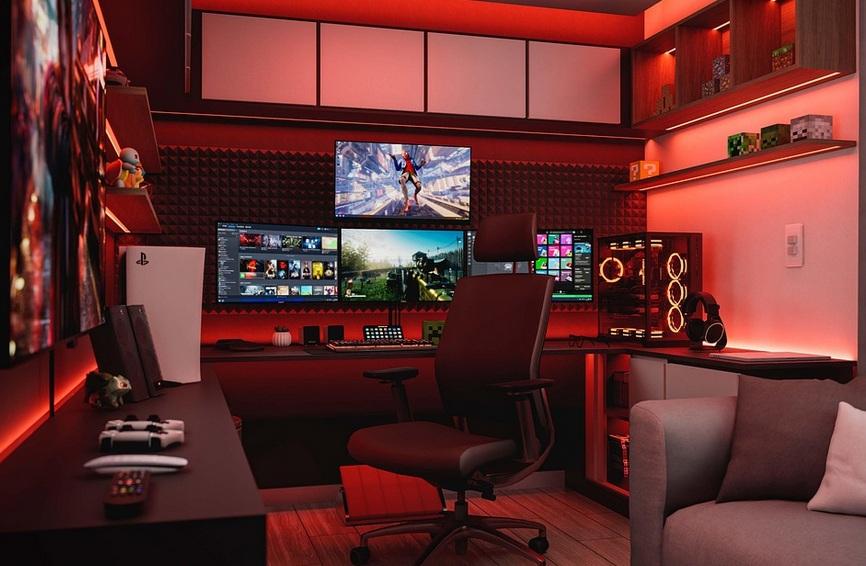
7. Case Design & Airflow Optimization
A minimal obstruction path enhances any fan curve:
- Intake vs. Exhaust: Maintain slight positive pressure (more intake fans) to reduce dust buildup.
- Fan Placement: Top exhaust, front intake, rear exhaust; align with major heat sources.
- Filter Maintenance: Clean or replace dust filters monthly for consistent CFM.
- Unobstructed Air Paths: Route cables behind motherboard tray; avoid stacked drives in front of fans.
8. Tools for Temperature Monitoring & Analysis
Accurate sensor data guides your curve adjustments:
- HWMonitor / HWiNFO64 (Windows): Comprehensive sensor logging and graph exports.
- Open Hardware Monitor: Open-source alternative with custom dashboards.
- lm-sensors / Psensor (Linux): Kernel-level sensor readings and real-time graphs.
- GPU-specific tools: MSI Afterburner, AMD Radeon Software for VRAM and GPU temps.
Log temperature vs. RPM curves over 24 hours to identify thermal spikes during different workloads.
9. Maintenance & Periodic Adjustments
Even the best curves degrade over time—plan for:
- Dust Cleaning: Every 3–6 months, remove fans and filters for a thorough wipe-down.
- Lubrication: Apply fan bearing oil if supported by the manufacturer.
- Re-evaluate Curves: After adding new hardware (GPU upgrade, extra drives), retest and tweak thresholds.
- Profile Backup: Export fan-control profiles after refining so you can restore quickly if settings reset.
10. Community Profiles & Advanced Tips
Leverage shared knowledge:
- Browse enthusiast forums (r/buildapc, Overclock.net) for fan curve presets on similar hardware.
- Download motherboard vendor profiles—some UEFI utilities allow import/export of fan tables.
- Use tools like
fancontrol-guion Linux to import existing/etc/fancontrolconfigs.
Advanced tip: integrate GPU and CPU curves—sync exhaust fans to both components’ highest temperature for a unified thermal strategy.
Conclusion
Mastering fan curve software customization empowers you to strike the perfect balance between cooling efficiency and silent operation. By choosing the right hardware—low-noise fans, a case with optimized airflow—and leveraging dynamic fan control tools or BIOS settings, you’ll keep temperatures in check and noise levels minimal. Continuous monitoring, community-driven profiles, and regular maintenance ensure that your PC’s acoustic performance remains top-tier for years to come.
Ready to refine your cooling? Explore our online store’s selection of PWM fans, fan controllers, and thermal monitoring devices—everything you need to build the ultimate quiet, high-performance system.