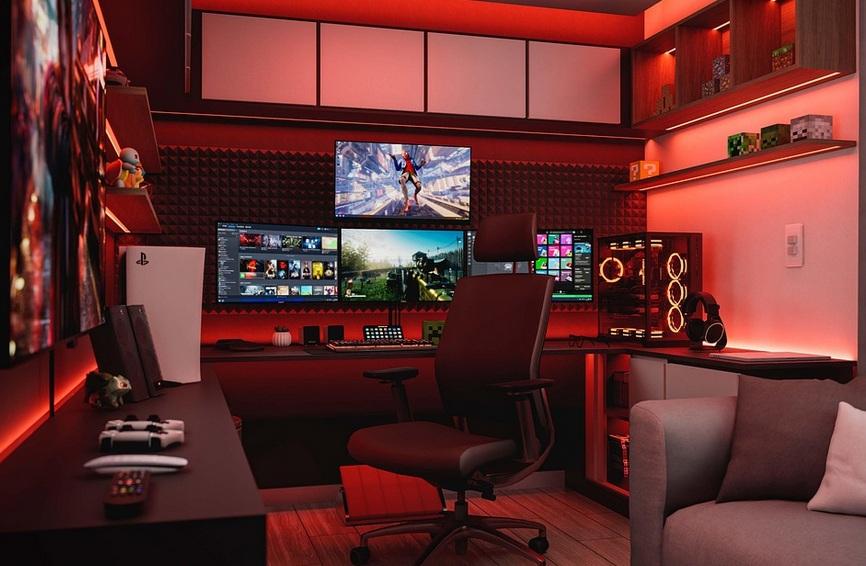
Video RAM (VRAM) is critical for rendering high‑resolution visuals and complex graphics, affecting everything from gaming to professional design. Optimizing VRAM usage ensures that your GPU maintains fluid performance under load while delivering stunning image quality.
Monitor VRAM usage during intense tasks using diagnostic software to avoid bottlenecks. Adjust in‑game settings like texture quality and resolution to balance loads effectively. In creative applications, allocate sufficient VRAM for high‑resolution projects and pay attention to software requirements to ensure seamless performance. Overclocking and firmware updates for your GPU can also help maximize VRAM efficiency.
Proper configuration of both system memory and VRAM results in improved multitasking and image clarity. Consistently benchmarking VRAM usage and adjusting workloads based on performance data helps maintain an optimal balance between quality and speed.
Maximizing VRAM utilization is imperative for both gamers and graphic designers striving for unmatched visual performance. With targeted adjustments and regular monitoring, you can ensure that your GPU operates at its peak, delivering excellent visuals under any load.
Ultimate VRAM Optimization Guide: Maximize GPU Memory & Visual Performance
Video RAM (VRAM) lies at the heart of every smooth gaming session, real-time render, and AI-driven compute workload. As resolutions climb and textures grow ever more detailed, optimizing VRAM utilization becomes crucial to prevent stutters, frame drops, and memory bottlenecks. This in-depth guide arms you with strategies to monitor, configure, and fine-tune your GPU’s memory—whether you’re a gamer, digital artist, or data scientist.
VRAM Fundamentals
VRAM (Video Random Access Memory) is dedicated graphics memory on your GPU. It stores frame buffers, textures, shaders, and compute data, allowing the GPU to access critical assets at high speed without tapping system RAM. When VRAM is exhausted, GPUs spill over to slower system memory, causing stuttering, hitching, and reduced image quality.
- Capacity: Total gigabytes (e.g., 6 GB, 8 GB, 16 GB).
- Bandwidth: Measured in GB/s, governed by memory type and bus width.
- Latency: Time to fetch data; lower latency yields snappier rendering.
Understanding these fundamentals helps you choose the right GPU and optimize settings for peak VRAM utilization.
VRAM Types & Bandwidth
VRAM comes in different flavors. Two common types dominate the consumer and professional markets:
| VRAM Type | Interface | Bandwidth per Pin | Typical Use Case |
|---|---|---|---|
| GDDR6 / GDDR6X | 256-bit to 384-bit bus | 14–19 Gbps | Gaming GPUs, mid-range professional cards |
| HBM2 / HBM2e | 1024-bit to 2048-bit wide stacks | 1.2–2 Gbps per pin | High-end accelerators (AI, HPC), workstation GPUs |
Higher bandwidth and wider buses let textures and buffers stream in and out faster—vital for 4K gaming, VR, and massive dataset processing.
Monitoring VRAM Usage
Before you optimize, you must measure. Use these tools to track VRAM consumption in real time:
- MSI Afterburner: On-screen overlay shows VRAM usage, GPU load, and more.
- GPU-Z: Detailed hardware readout and sensor monitoring.
- HWInfo64: System monitoring suite with logging capabilities.
- In-Game Overlays: Steam, NVIDIA GeForce Experience, AMD Radeon Software.
- Professional Profilers: NVIDIA Nsight, Intel GPA for deep analysis.
Log VRAM usage under different scenarios—idle, low settings, max settings—to identify memory bottlenecks.
Key Optimization Strategies
Optimize VRAM usage across applications with these proven tactics:
- Texture Quality & Resolution: Lower ultra-high textures, reduce shadow map sizes, or use dynamic resolution scaling in games.
- Anisotropic Filtering & Anti-Aliasing: Dial back AA modes (e.g., MSAA, TXAA) and use post-processing AA (DLSS, FSR) to save VRAM.
- Memory Compression: Enable driver features like NVIDIA Delta Color Compression or AMD’s Frame Buffer Compression.
- Render Distance & LOD: Decrease view distance and level-of-detail thresholds in open-world titles.
- Overclocking & Undervolting: Tweak VRAM clock speed (+100 MHz increments) and voltage (-25 mV steps) for stability and efficiency.
- Firmware & Driver Updates: Install the latest GPU firmware and drivers to benefit from memory management optimizations.
Combining these adjustments yields the best balance between image quality and VRAM headroom.
Gaming VRAM Tuning
Games can be the most demanding VRAM workloads. Follow these tuning steps:
- Benchmark Baseline: Run 3DMark or Unigine Superposition at target resolution.
- Preset Sweeps: Test low, medium, high, and ultra settings—note VRAM usage and frame rates.
- Dynamic Resolution: Enable “Dynamic Super Resolution” or “Virtual Super Resolution” selectively.
- DLSS & FSR: Use NVIDIA DLSS 2.x/3 or AMD FSR 2.x to upscale from lower buffer sizes.
- VR & 3D: VR often doubles VRAM load; reduce render scale to 70–80% to stay within headroom.
Professional & Creative Workloads
Graphic designers, video editors, and 3D artists need large VRAM buffers:
- CAD & 3D Modeling: High-poly meshes and multi-layer textures consume 8–16 GB easily.
- Video Editing: 4K/8K timelines, multi-layer effects, and color grading lookups push VRAM demands.
- Rendering Engines: GPU-accelerated renderers like Octane, Cycles, and Redshift rely on VRAM for scene data caches.
Tip: Pre-allocate frame buffer in software settings (e.g., set Octane “Out of Core” to handle spilling gracefully to system RAM).
Advanced VRAM Techniques
To squeeze every byte of performance:
- Driver-Level Tweaks: Tweak registry keys in NVIDIA Control Panel or AMD Radeon Settings for prefetch distance, LOD bias, and buffer compression ratios.
- OS-Level Paging: Increase Windows pagefile on GPU-heavy machines to accommodate spillover without crashing.
- Custom Shaders & LOD Bias: Use ReShade or ENB Series to inject custom LOD bias, reducing VRAM at the cost of minor visual fidelity loss.
Multi-GPU & VRAM Pooling
Multi-GPU setups (SLI, CrossFire, NVLink) have unique VRAM behavior:
- SLI/CrossFire: VRAM is mirrored—two 8 GB cards still provide only 8 GB of usable memory.
- NVLink (NVIDIA): Allows peer-to-peer memory access, effectively pooling VRAM across GPUs.
- Explicit Multi-GPU APIs: DirectX 12 and Vulkan can assign resources per GPU, letting you utilize full VRAM on each card.
For large datasets or 3D scenes, NVLink-enabled cards deliver the best VRAM pooling performance.
VRAM in Compute & AI Workloads
Machine learning and data science often load multi-gigabyte tensors into GPU memory:
- Tensor Cores & Mixed Precision: Use FP16 or INT8 to halve VRAM usage while maintaining accuracy.
- Batch Size Tuning: Decrease batch sizes in TensorFlow or PyTorch to fit models into VRAM.
- Unified Memory (NVIDIA): Automatically page data between host and device, but expect higher latency.
Troubleshooting VRAM Bottlenecks
Signs of VRAM exhaustion include texture pop-in, stutters, crashes, and “out of memory” errors. Diagnose with:
- Log Files: Check game/app logs for memory exceptions.
- Sensor Charts: GPU-Z and HWInfo sensor graphs highlighting VRAM spikes.
- Safe Mode Runs: Lower all graphics settings, then re-enable features one at a time to isolate the culprit.
Benchmarking VRAM Performance
Use synthetic and real-world benchmarks to quantify your optimizations:
| Benchmark | Metric | VRAM Usage | Notes |
|---|---|---|---|
| 3DMark Time Spy | Graphics Score | ~4–6 GB | 1080p / 1440p stress test |
| Unigine Superposition | Frame Rate | ~6–8 GB | Extreme 8K preset |
| Blender BMW27 | Render Time | 5–10 GB | GPU-accelerated path tracing |
| VRMark Cyan Room | Score | 6–12 GB | VR workload simulation |
Balancing VRAM & System Memory
Integrated GPUs share system RAM as VRAM—tune this allocation in BIOS/UEFI:
- Increase shared memory to at least 2 GB for light e-sports titles.
- Enable memory interleaving on APUs for higher bandwidth.
- Keep system RAM dual-channel for maximum throughput.
Future Trends in GPU Memory
The next generation of VRAM will push boundaries further:
- HBM3: Up to 3 Gbps per pin, >1 TB/s bandwidth per stack.
- GDDR7: Expected 32 Gbps per pin with enhanced energy efficiency.
- 3D Stacked Memory: On-die DRAM layers for sub-20 ns latency.
- CXL Memory Pooling: Coherent RAM across CPUs and GPUs in data centers.
Conclusion & Best Practices
Optimizing VRAM utilization combines proactive monitoring, targeted settings adjustments, and advanced techniques like memory compression and overclocking. Whether you’re gaming at 4K, rendering 3D scenes, or training AI models, these strategies ensure your GPU memory is used efficiently—delivering high frame rates, crisp visuals, and reliable performance under any load.
Remember to keep drivers and firmware up to date, benchmark changes, and document your best-performing profiles. With these best practices in hand, you’ll maximize GPU memory, prevent VRAM bottlenecks, and maintain a seamless visual experience.
Happy optimizing—may your textures load instantly and your frame rates never dip!