Virtual reality (VR) is an increasingly popular frontier in digital immersion, demanding robust hardware and optimized configurations. Building a VR‑ready PC ensures low latency, high resolution, and smooth performance for an immersive experience.
A powerful GPU and multi‑core CPU are essential for rendering complex graphics in real time. Ample high‑speed memory and NVMe storage contribute to rapid asset loading and smooth game play. Additionally, ensure that your VR headsets and peripheral tracking systems are fully compatible with your PC’s hardware. Quality cooling solutions also play a critical role in sustaining peak VR performance during prolonged sessions.
Tweak settings within VR software to reduce latency and enhance resolution. Calibrate tracking sensors and adjust display parameters for comfort. Regularly update drivers and firmware associated with VR hardware to remain compatible with evolving applications.
A well‑configured VR‑ready PC delivers the immersive experiences demanded by modern virtual reality applications. By focusing on powerful components, optimized settings, and robust cooling, you create a system that meets the high performance needs of VR enthusiasts and professionals alike.
Ultimate Guide to Building and Optimizing a VR-Ready PC for Immersive Virtual Reality
Create a high performance VR setup that delivers low latency, stunning visuals, and rock-solid tracking. From component selection to advanced tuning, this guide covers everything you need for an exceptional virtual reality experience.
Introduction
Virtual reality (VR) has evolved from a niche novelty into a mainstream platform for gaming, design, training, and social experiences. Achieving smooth, immersive VR requires a dedicated VR-ready PC—one built around potent hardware, meticulously optimized settings, and stable cooling solutions.
In this exhaustive guide, we’ll dive deep into every aspect of planning, building, and fine-tuning a VR system. Whether you’re chasing ultra-realistic room-scale gaming or professional applications like 3D modeling and simulation, these best practices will ensure your PC meets or exceeds the demanding requirements of modern VR headsets and software.
Why Build a Dedicated VR-Ready PC?
Unlike standard desktop or gaming builds, a VR-ready PC demands sustained frame rates (ideally 90 FPS or higher), minimal motion-to-photon latency, and precise sensor tracking. Falling below these thresholds can cause judder, frame drops, or even motion sickness.
A purpose-built VR system ensures:
- Consistent 90 FPS+ performance at high resolutions (1440p per eye and beyond).
- Sub-20 ms end-to-end latency for natural head movement.
- Room-scale tracking without blind spots or jitter.
- Headset compatibility with SteamVR, Oculus, or other ecosystems.
Core Hardware Components
1. GPU for VR
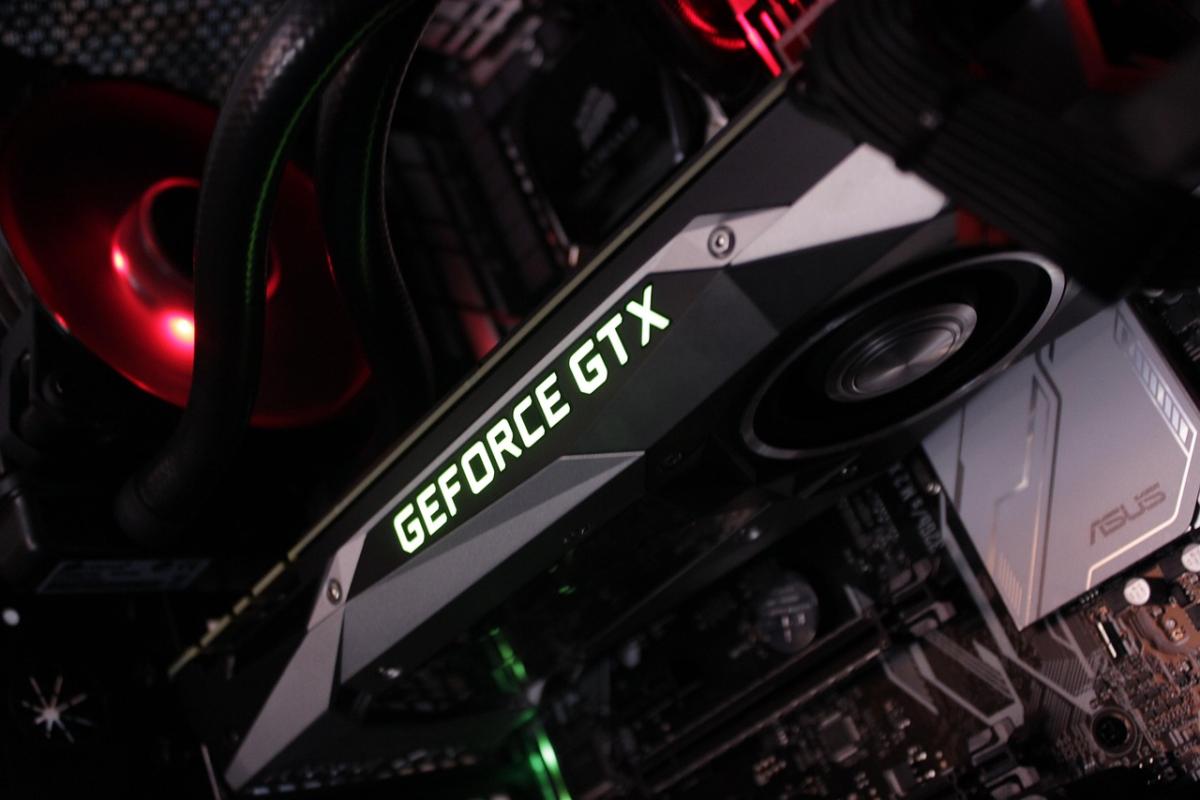
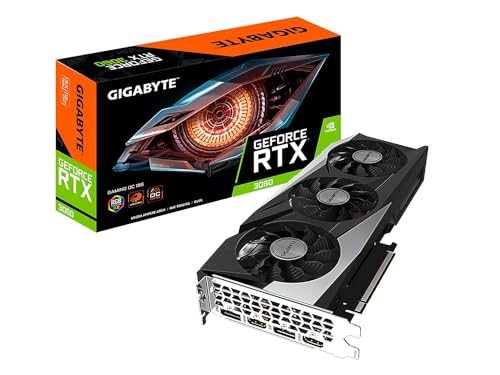
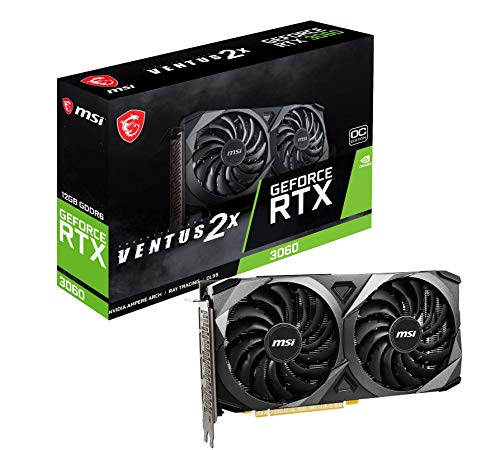
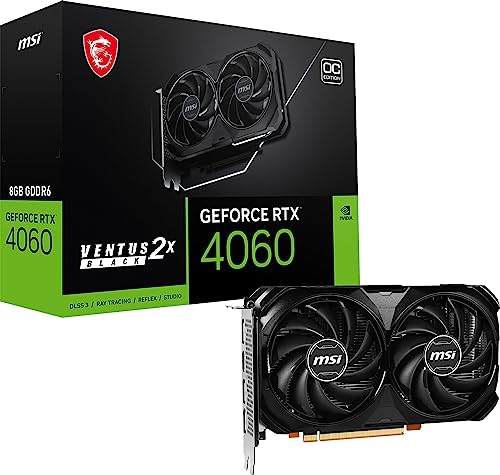
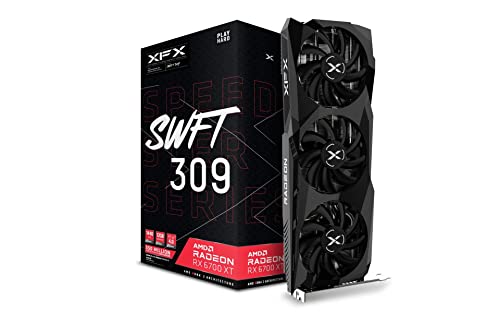
The graphics card is the workhorse of any VR setup. It must render two high-resolution stereo streams at high frame rates. Modern VR headsets often push 4K combined resolution with high refresh rates.
- NVIDIA RTX 3070 and above or AMD RX 6800 XT and above for mainstream high performance VR.
- Professional-grade GPUs (RTX 4080/4090 or AMD Radeon 7000 series) for future-proofing and ultra-high-detail simulations.
- Ensure at least 8 GB VRAM for texture‐intensive experiences; 12 GB+ recommended for 4K+ headsets.
2. CPU for VR
VR applications rely on single-threaded performance for physics, AI, and system overhead. Additionally, multicore throughput supports background processes like streaming, voice chat, and sensor fusion.
- High clock speeds: 3.8 GHz base, 4.5 GHz+ turbo.
- 6–8 cores minimum (e.g., Intel Core i5 13600K, AMD Ryzen 5 7600X).
- 10–16 cores (e.g., Intel Core i7/9, AMD Ryzen 7/9) for heavy multitasking or professional VR workflows.
3. Memory & Storage
VR apps load large environment assets and maintain complex scene data. Insufficient RAM or slow storage leads to stutters during teleportation, level loading, or texture streaming.
- 16 GB DDR4-3600MHz minimum; 32 GB+ for heavy multitasking.
- NVMe SSD (PCIe 3.0 or 4.0) for rapid game and asset loading.
- Consider a secondary SATA SSD or HDD for media storage.
4. Motherboard & Power Supply
Choose a motherboard with robust VRM cooling to sustain high clock speeds and VR power draw. Ensure multiple USB 3.1/3.2 ports for headset base stations, sensors, and controllers.
- ATX or Micro-ATX with reinforced PCIe slots.
- USB 3.1 Gen2 Type-A and Type-C ports for future VR headsets.
- High-quality 650 W+ 80 PLUS Gold PSU to support GPU spikes.
5. Cooling & Case Airflow
Extended VR sessions push CPU and GPU to near-maximum power draw. Adequate cooling prevents thermal throttling and ensures stable frame rates.
- All-in-one liquid cooler or premium air cooler for the CPU.
- 360 mm radiator if overclocking or using a power-hungry CPU.
- Positive airflow case design with front intake and top/rear exhaust fans.
Step-by-Step VR PC Build Guide
- Pre-Build Planning
Review headset requirements (Oculus Rift S, Valve Index, HTC Vive Pro, etc.). Check recommended GPU and CPU specifications on the manufacturer’s website.
- Component Assembly
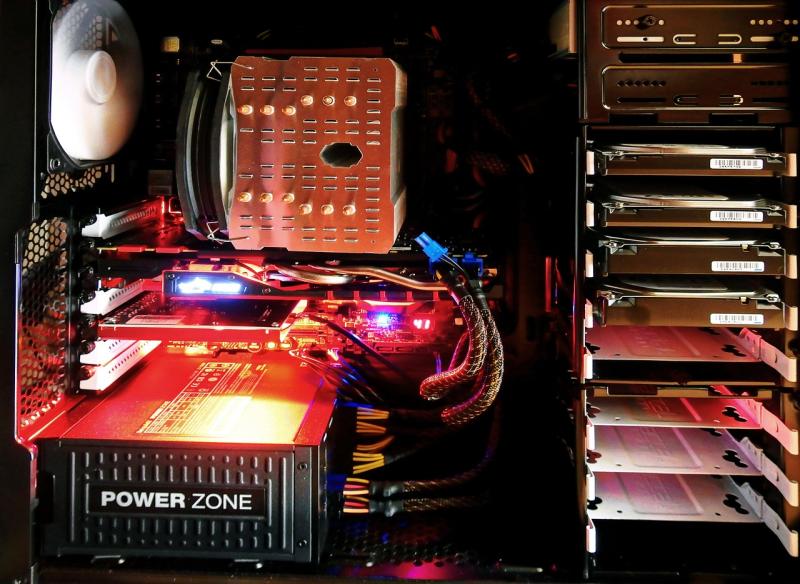
Install CPU, cooler, and RAM on the motherboard first. Mount the board securely in the case, then install GPU, NVMe SSD, and connect all power cables.
- Peripheral Connection
Position base stations or sensors for maximum room-scale coverage. Plug headset link box into USB 3.0 and DisplayPort/HDMI outputs. Ensure power adapters are connected.
- BIOS Configuration
Enable XMP/DOCP for RAM, set CPU fan to aggressive curve, and disable C-states if stuttering occurs. Update BIOS to the latest version for compatibility fixes.
- Operating System & Drivers
Install Windows 10/11 with all latest updates. Download GPU drivers from NVIDIA/AMD, and VR platform software from SteamVR or Oculus.
- Initial Testing
Run a quick VR demo (e.g., SteamVR Home) to verify tracking, display output, and USB bandwidth. Check Device Manager for any driver conflicts.
VR Software Optimization Techniques
Supersampling and Resolution Scaling
Supersampling renders the scene at a higher resolution before downscaling, improving clarity at the cost of GPU performance. Begin at 1.2× and adjust until you find the sweet spot between sharpness and frame rate.
Asynchronous Reprojection & Motion Smoothing
These techniques reduce judder by interpolating frames when the GPU can’t maintain 90 FPS. Use the Oculus Debug Tool or SteamVR settings to tune reprojection thresholds.
USB Bandwidth Management
USB conflicts can cause headset dropouts. Separate sensors onto dedicated USB controllers or PCIe expansion cards. Disable unused USB devices to free bandwidth.
Advanced VR Optimization Tips
- Overclock your GPU memory by +200 MHz to boost VRAM throughput; monitor stability with OCCT or Heaven Benchmark.
- Enable Resizable BAR (ReBAR) for NVIDIA and AMD to reduce CPU-GPU latency on supported titles.
- Use GPU driver profiles to force high-performance power mode and disable background scanning features.
- Apply custom fan curves in MSI Afterburner or ASUS GPU Tweak to maintain lower GPU temperatures under sustained loads.
- Experiment with Windows Game Mode and high-performance power plans for CPU prioritization.
Benchmarking and Performance Validation
Validate your VR-ready PC with industry-standard benchmarks and stress tests:
- SteamVR Performance Test: Provides baseline frame timing and reprojection stats.
- VRMark Orange Room & Cyan Room: Simulates high-fidelity VR workloads.
- Unigine Heaven/Valley: Stress-tests GPU for temperature and stability in VR-like loads.
Track metrics like average frame time, drop rate, and GPU temperature. Adjust settings iteratively until you consistently hit 90 FPS with fewer than 0.1% dropped frames.
Troubleshooting Common VR Issues
Poor Tracking or Jitter
Ensure base stations are mounted at opposite corners, elevated at 2–2.5 m, angled down at 30–45°. Clear reflective surfaces and minimize wireless interference.
Frame Drops and Stuttering
Lower supersampling, disable SSAA/FSAA, and use asynchronous reprojection. Check CPU/GPU utilization—upgrade one if consistently at 100%.
USB Device Failures
Update USB controller drivers, switch to different ports, or add a dedicated PCIe USB 3.1 card. Verify cable integrity and replace if necessary.
Maintenance and Future Upgrades
To keep your VR-ready PC performing at its best:
- Clean dust filters and fans every 3–6 months.
- Reapply CPU/GPU thermal paste every 12–18 months.
- Update VR software and headset firmware with every major release.
- Monitor component health with tools like HWInfo or AIDA64.
- Plan upgrades: next-gen GPUs, USB-C VR headsets, PCIe 5.0 motherboards.
Case Study: Budget vs. Enthusiast VR Builds
| Component | Budget VR PC (~$1,200) | Enthusiast VR PC (~$2,500) |
|---|---|---|
| GPU | NVIDIA RTX 3060 Ti | NVIDIA RTX 4080 |
| CPU | AMD Ryzen 5 5600X | Intel Core i9 14900K |
| RAM | 16 GB DDR4-3200MHz | 32 GB DDR5-6000MHz |
| Storage | 1 TB PCIe 3.0 NVMe SSD | 2 TB PCIe 4.0 NVMe SSD |
| Cooling | Air Cooler (120 mm) | Custom AIO Liquid Cooling (360 mm) |
Frequently Asked Questions
Do I need a special graphics card for VR?
Yes. VR demands dual-stream rendering at high resolutions. GPUs like NVIDIA RTX 2060 or AMD RX 6600 XT are minimum; RTX 3070/RX 6800 XT recommended for smooth performance.
Can I use a laptop for VR gaming?
High-end laptops with RTX 3080 or RTX 4090 can handle VR, but thermal throttling and limited ports may hamper performance and comfort compared to a desktop VR-ready PC.
How important is USB port placement?
Very. VR headsets and sensors require stable high-speed USB connections. Position ports directly on the motherboard’s rear I/O or use a quality PCIe USB expansion card.
Conclusion
Building a VR-ready PC is a multi-step journey: selecting the right CPU and GPU, ensuring fast memory and storage, configuring robust cooling, and fine-tuning software settings. Each decision impacts latency, frame rate, and tracking stability.
By following this comprehensive guide—covering hardware recommendations, build steps, optimization tricks, benchmarking, troubleshooting, and maintenance—you’ll create an immersive VR system that meets the high performance demands of modern applications and games. Step into virtual worlds with confidence, knowing your PC is optimized for the ultimate VR experience.
