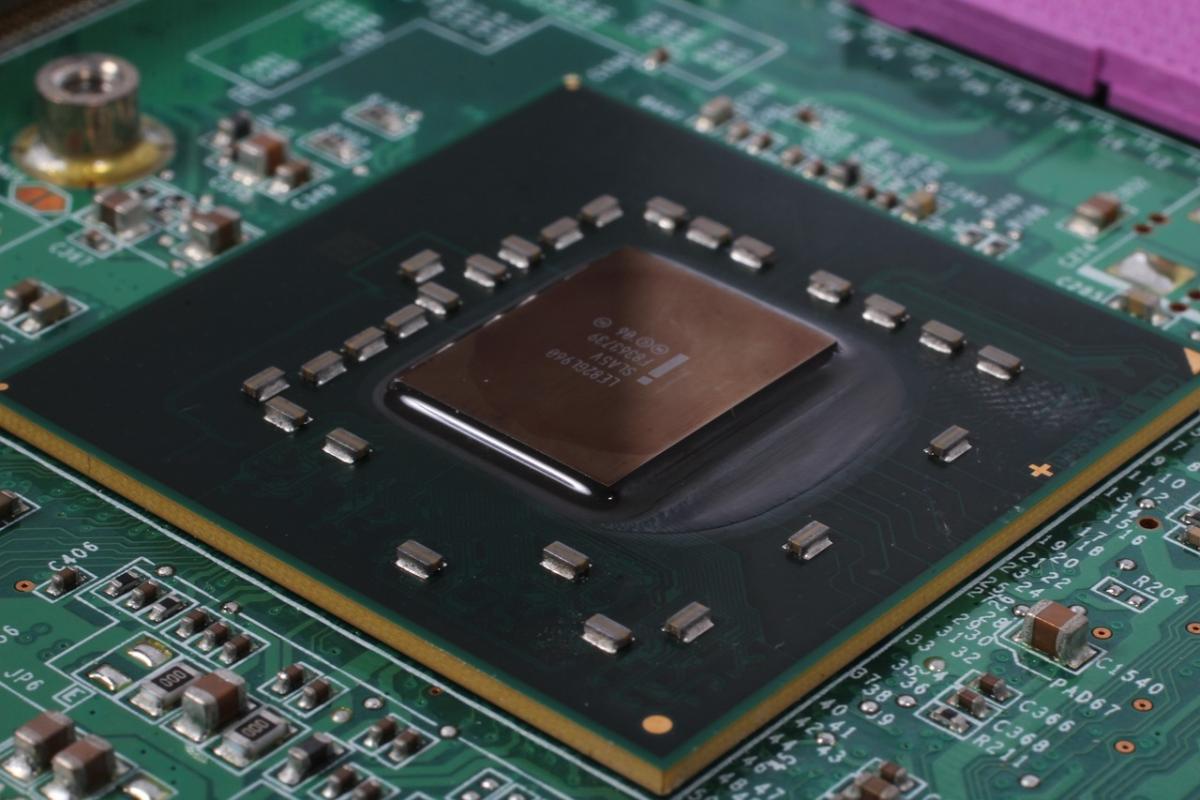
Thermal paste plays a crucial role in maintaining effective cooling by filling microscopic gaps between a CPU or GPU and its heatsink. Proper application is essential for maximizing heat transfer and ensuring optimal system performance, particularly in high performance PCs.
Clean the surfaces thoroughly before applying a small, pea‑sized amount of thermal paste. Spread the paste evenly, either by using the pressure of your heatsink during installation or via a systematic method for consistent coverage. Avoid using excess paste, which can hinder performance rather than improve it. Precision and consistency are key to achieving an optimal thermal interface.
After installing the heatsink, monitor temperatures during initial stress testing to confirm effective contact. Reapply thermal paste periodically—especially after long hours of heavy use—to maintain peak performance. Regular maintenance ensures that cooling efficiency remains optimal over time.
Applying thermal paste correctly is a simple yet critical step in maintaining a high performance PC’s cooling efficiency. By following best practices and routine maintenance, you can keep your components cool under heavy loads and extend the lifespan of your hardware.
Comprehensive Guide to Thermal Paste Application for Optimal PC Cooling
Master the art and science of thermal paste application to ensure your high performance PC runs cool, stable, and reliable under any workload.
Introduction
Thermal paste, also known as thermal compound or TIM (Thermal Interface Material), bridges microscopic air gaps between a CPU or GPU die and its heatsink. Without this critical material, heat transfer efficiency plummets, leading to higher temperatures and reduced component lifespan.
Whether you’re building a gaming rig, a workstation for video editing, or a server-grade machine, understanding proper thermal paste application can lower CPU and GPU temperatures by 5–15 °C compared to suboptimal techniques.
This guide covers everything from selecting the right compound and preparing your surfaces to advanced application methods, maintenance schedules, troubleshooting tips, and frequently asked questions.
Why Proper Thermal Paste Matters
CPU and GPU dies are polished silicon surfaces that look smooth to the naked eye but contain microscopic pits and imperfections. Air trapped in these voids acts as an insulator, obstructing heat flow from the die to the heatsink.
High-quality thermal paste fills these gaps, creating a continuous heat conduction path. This reduces thermal resistance and maintains lower core temperatures during intense workloads.
Lower operating temperatures translate to sustained peak performance, reduced fan noise, and a longer hardware lifespan.
Materials and Preparation
Essential Tools
- Isopropyl alcohol (90%+ purity)
- Lint-free microfiber cloth or coffee filters
- High-quality thermal paste (ceramic, metal, or hybrid)
- Plastic card or applicator (optional)
- Anti-static wrist strap (recommended)
Surface Preparation Steps
- Power Down and Unplug
Completely shut down your PC and disconnect all cables. Wait five minutes for residual power to dissipate before handling components.
- Remove Old Paste
Carefully detach the heatsink. Use a microfiber cloth soaked in isopropyl alcohol to wipe off old thermal paste from both the CPU/GPU die and the heatsink base until surfaces are spotless.
- Let Surfaces Dry
Allow both surfaces to air-dry for at least one minute to ensure no alcohol residue remains.
Application Techniques
Choosing the right application method depends on your CPU/GPU size and your comfort level. Below are the most common techniques.
Pea-Sized Dot Method
Apply a small pea-sized drop of paste at the center of the die. When you attach the heatsink, pressure spreads the paste evenly across the surface.
Line or Strip Method
For CPUs with rectangular dies (e.g., Intel Core i9 or AMD Ryzen), apply a thin line parallel to the die’s long edge. This ensures coverage without excess overflow.
Cross Method
Draw two thin lines in an X shape across the die. This technique helps paste reach each corner but can introduce air pockets if overdone.
Full Spread Method
Using a plastic card or applicator, spread a thin, uniform layer of paste over the entire die surface. This guarantees full coverage but requires practice to avoid uneven thickness.
Step-by-Step Installation
- Align the Heatsink
Place your heatsink gently onto the die, ensuring mounting brackets align with motherboard holes or retention clips.
- Apply Even Pressure
Tighten screws in a criss-cross or diagonal pattern to distribute pressure evenly. This prevents paste from pooling on one side.
- Reconnect Power
Reattach the CPU/GPU fan connector or pump header before resecuring any cables or panels.
- Initial Boot and Check
Power on your system and enter BIOS or a monitoring tool to verify fan speed and basic temperatures before full boot.
Post-Application Testing and Monitoring
After installation, stress test your system with tools like Prime95, AIDA64, or FurMark for at least 30 minutes. Monitor core temperatures using HWInfo or MSI Afterburner to ensure stable thermal performance.
Ideal load temperatures should remain at least 10 °C below your component’s maximum junction temperature (TjMax). If temperatures exceed safe thresholds, consider reapplying paste or improving airflow.
Maintenance and Reapplication Schedule
Thermal paste degrades over time due to thermal cycling and oxidation. Regular maintenance ensures peak cooling efficiency.
- Reapply every 12–18 months for typical desktop use.
- For overclocked or heavily loaded systems, reapply every 6–12 months.
- Inspect paste if you notice temperature increases of more than 5 °C under identical workloads.
Troubleshooting Common Issues
High Idle Temperatures
Check for air pockets, uneven heatsink mounting, or insufficient paste coverage. Reseat the heatsink and reapply paste if necessary.
Thermal Spikes Under Load
Ensure your case fans are configured for proper intake and exhaust. Check that your CPU fan or liquid cooler pump is operating at rated speed.
Excessive Paste Overflow
Wipe away surplus material that has escaped the die edges. Too much paste can insulate rather than conduct heat.
Advanced Tips and Tricks
- Use a metal-based paste for extreme overclocking, but beware of electrical conductivity risks.
- Consider liquid metal compounds for top-tier performance, ensuring you apply protective pads on surrounding components to prevent shorts.
- Monitor ambient temperature and humidity—extreme environment changes can affect paste viscosity and performance.
- Apply a second layer on GPUs with large dies to ensure consistent coverage under heavy thermal loads.
Case Study: Gaming vs. Content Creation Rigs
A competitive gaming PC with a Core i9 and RTX 3080 showed a 12 °C reduction in peak temperature after switching from generic paste to a premium ceramic compound.
A video editing workstation with dual GPUs experienced smoother thermal curves and 30 minutes longer sustained turbo performance after migrating to liquid metal paste, at the cost of more frequent reapplication checks.
Thermal Paste Comparison Table
| Type | Thermal Conductivity | Ease of Application | Longevity | Use Case |
|---|---|---|---|---|
| Ceramic | 4–6 W/m·K | High | 12–18 months | General purpose |
| Metal (Silver) | 8–12 W/m·K | Medium | 6–12 months | Enthusiast & overclocking |
| Liquid Metal | 70–80 W/m·K | Low | 3–6 months | Extreme overclocking |
Frequently Asked Questions
How much thermal paste is too much?
Excess paste (visible overflow) can trap heat. Aim for a barely visible layer under the heatsink—about a pea-sized dot or a thin line.
Can I mix different pastes?
Mixing compounds can degrade performance and consistency. Always clean off the old paste completely before applying a new type or brand.
Is liquid metal safe for everyday use?
Liquid metal offers superior conductivity but is electrically conductive and corrosive to aluminum. Use on copper heatsinks only, and inspect every 3–4 months.
Conclusion
Perfecting thermal paste application is an essential skill for any PC builder or enthusiast. From selecting the right compound and mastering your favored technique to maintaining and troubleshooting over time, each step influences your system’s thermal performance.
By following this comprehensive guide, you’ll ensure your CPU and GPU run cooler, quieter, and longer—whether you’re gaming at max settings, rendering 4K video, or tackling scientific simulations.
Invest a little time in preparation, use high-quality materials, and stick to a regular maintenance schedule to enjoy optimal heat transfer efficiency and unlock the full potential of your hardware.
