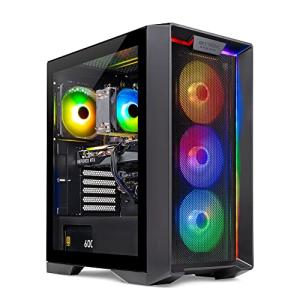
Overclocking might sound intimidating at first, but it's really just a way to push your computer's hardware beyond its factory settings. Think of it as giving your CPU or GPU a little extra boost to help it perform better in games or heavy applications. Many people successfully overclock their systems for improved speed and performance, and you can too!
So, how does it work? When you overclock, you’re essentially increasing the clock speed of your processor. This means it can execute more instructions per second. However, keep in mind that this extra performance can come with some trade-offs. You might run into more heat, meaning good cooling solutions are crucial. If your components get too hot, it can lead to instability or even damage.
Before you dive into overclocking, it's important to check your hardware. Not all CPUs or GPUs can be overclocked, so look for models with an unlocked multiplier, like Intel's K-series processors or AMD's Ryzen line. You'll also want to make sure you have a solid motherboard that supports overclocking features.
Once you have the right hardware, use software like MSI Afterburner or Intel XTU to make adjustments. Start slow—a small increase in clock speed can make a big difference! And don’t forget to monitor your temperatures while you’re testing things out. If you notice the system getting too hot, dial it back a bit.
Easy Steps to Overclock Your CPU
Overclocking your CPU can sound a bit intimidating, but it’s really just a way to get a little more speed from your computer without spending extra cash. Here’s a simple guide to help you get started with some easy steps!
Step 1: Get the Right Tools
Step 2: Access Your BIOS
Restart your computer and enter the BIOS (usually by pressing a key like F2, Delete, or Esc right after powering it on). Look for settings related to your CPU. This may be under “Overclocking” or “Advanced.”
Step 3: Make Your First Adjustment
Start by increasing the CPU multiplier (this is often labeled as “CPU Ratio”). A small boost, like changing it from 33x to 34x, can make a big difference. Remember to save your changes before exiting the BIOS. Don’t go too far too fast; gradual changes are key!
Step 4: Stress Test and Monitor
Once you're back in your operating system, open up your stress testing software and let it run for a while (around 30 minutes). Keep an eye on the temperatures using your monitoring software. If things get too hot, you'll want to dial it back a bit.
And that’s it! If everything runs smoothly, you can continue playing with the settings and find a balance that works best for your system. Happy overclocking!
Tips for Safe Overclocking
Overclocking can seriously amp up your PC's performance, but it’s important to do it safely! Here are some friendly tips to help you navigate the process without running into issues.
1. Start Slow: If you're new to overclocking, start with small increments. Adjust your settings gradually and keep an eye on how your system reacts. This way, you can find the sweet spot without pushing your hardware too hard.
2. Monitor Temperatures: Overclocking can heat things up, so make sure you’re keeping track of your CPU and GPU temperatures. Use reliable software to monitor them to prevent overheating. A good rule of thumb is to keep temperatures below 80-85°C under load.
3. Test Stability: After you’ve made tweaks, stress test your system for stability. Tools like Prime95 or Heaven Benchmark can really help here. Running these tests will help you find out if your new settings are stable or if they need further adjustment.
4. Ensure Good Cooling: Make sure your cooling system is adequate for your setup. Upgrading your CPU cooler or adding more case fans can make a big difference in keeping temps down while you push things to the next level.
Tools to Monitor Your System
Using these tools can help you stay informed about your system’s health while you tweak and tune for better performance. Always keep an eye on your temps and voltages to avoid any mishaps while pushing your system to its limits!